DIY Fashion Refresh: 3 Simple Upcycling Projects to Transform Your Wardrobe for Less Than $20 (PRACTICAL SOLUTIONS)
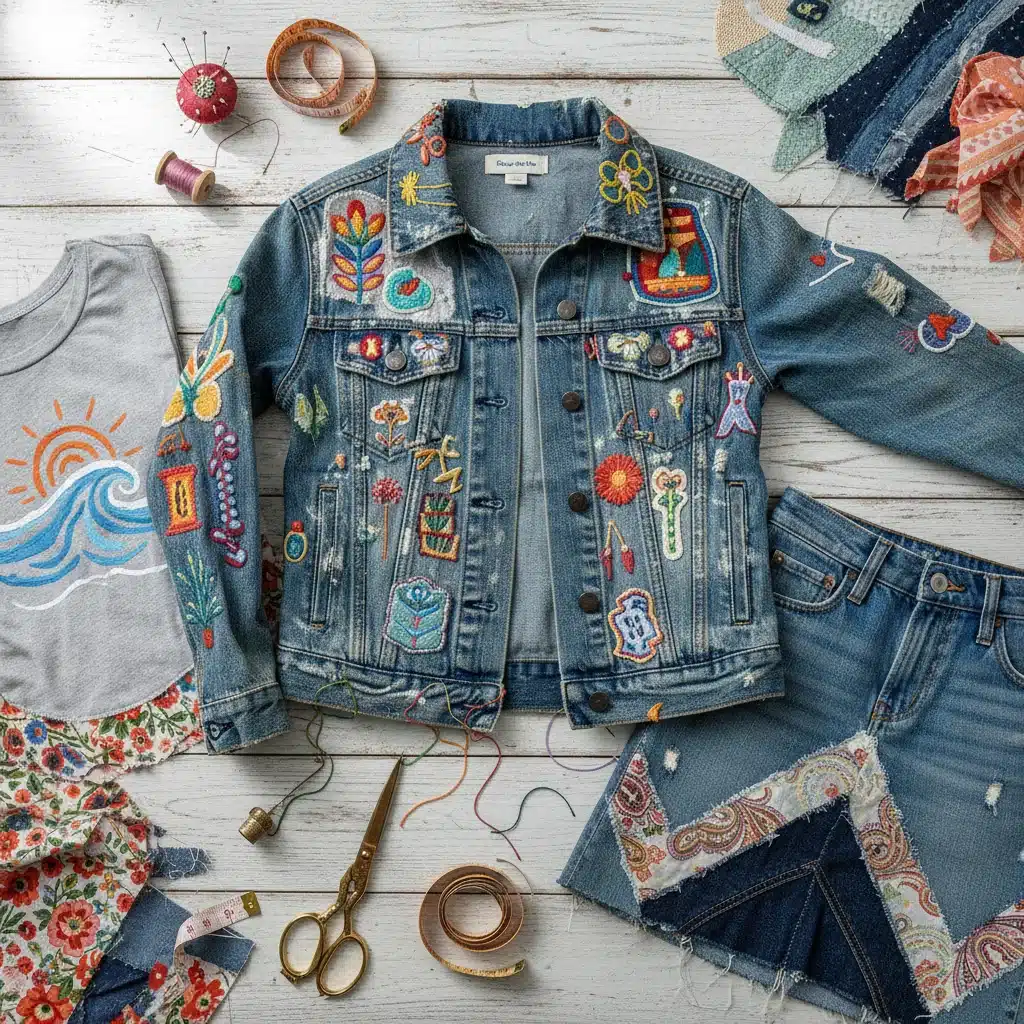
Are you tired of staring at a closet full of clothes but feeling like you have nothing to wear? Do you dream of a fresh, new wardrobe without the hefty price tag or the environmental guilt of fast fashion? If so, you’re in the right place! This article is your ultimate guide to a DIY fashion refresh, focusing on simple, effective upcycling projects that will transform your existing garments for less than $20. Yes, you read that right – stylish, sustainable, and super affordable!
In an age where sustainability is more crucial than ever, giving new life to old clothes isn’t just a trend; it’s a smart, eco-conscious choice. Upcycling reduces textile waste, conserves resources, and allows you to express your unique style without contributing to the fast fashion cycle. Plus, there’s immense satisfaction in wearing something you’ve personally transformed. Get ready to unleash your inner designer and discover how easy it is to achieve a remarkable DIY fashion refresh.
We’ll dive into three practical projects that require minimal sewing skills and basic, inexpensive materials. Each project is designed to be completed quickly, offering maximum impact for your effort and budget. From giving a new lease on life to a tired denim jacket to transforming a plain tee into a statement piece, you’ll find inspiration and step-by-step guidance to make your wardrobe dreams a reality. Let’s turn those “nothing to wear” moments into “look what I made!” triumphs!
The Power of Upcycling: Why a DIY Fashion Refresh Matters
Before we jump into the projects, let’s take a moment to appreciate the profound impact of upcycling. The fashion industry is one of the world’s largest polluters, generating massive amounts of waste and consuming vast resources. Every year, millions of tons of textiles end up in landfills, contributing to environmental degradation. By embracing a DIY fashion refresh, you become part of the solution, actively reducing your carbon footprint and promoting a more circular economy.
Beyond the environmental benefits, upcycling offers incredible personal advantages. It fosters creativity, allowing you to experiment with colors, textures, and designs. It’s a fantastic way to develop new skills, whether it’s basic sewing, embroidery, or fabric dyeing. Most importantly, it empowers you to create truly unique pieces that reflect your personality, standing out from the mass-produced items found in every store. Imagine the compliments you’ll receive when you tell someone, “Thanks, I made it myself!”
Moreover, a DIY fashion refresh is incredibly budget-friendly. With the cost of living on the rise, finding ways to save money without sacrificing style is a huge bonus. Many of these projects utilize items you already own, or can be sourced cheaply from thrift stores, garage sales, or even friends and family. The additional materials needed are typically inexpensive and readily available at craft stores or online. This approach proves that you don’t need a lot of money to have a stylish and versatile wardrobe.
So, whether you’re a seasoned crafter or a complete beginner, the world of upcycling is open to you. It’s a journey of discovery, creativity, and conscious consumption. Let’s gather our tools, open our minds, and embark on this exciting path to a revitalized wardrobe through a strategic DIY fashion refresh.
Project 1: Denim Jacket Transformation – Embroider, Patch, and Paint
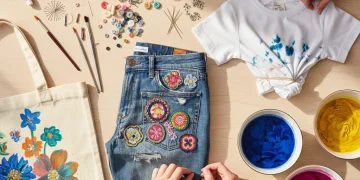
The denim jacket is a timeless wardrobe staple, but even classics can benefit from a personal touch. This project is all about taking a plain or slightly worn denim jacket and turning it into a unique statement piece. The beauty of denim is its durability and versatility, making it the perfect canvas for a creative DIY fashion refresh.
Materials Needed (Under $20)
- An old denim jacket (yours, a friend’s, or thrifted for $5-$10)
- Embroidery floss in various colors ($3-$5 for a multi-pack)
- Fabric patches (iron-on or sew-on, $2-$5 for a few)
- Fabric paint or markers ($5-$8 for a small set)
- Optional: Beads, sequins, studs (a few dollars)
- Basic sewing needle, scissors
Step-by-Step Guide:
- Clean and Prep Your Jacket: Start by washing and drying your denim jacket. This ensures a clean surface for your embellishments and pre-shrinks any fabric that might shrink later.
- Plan Your Design: Lay your jacket flat and visualize where you want to add details. Do you want a large design on the back? Small accents on the collar or cuffs? A mix of everything? Use chalk to lightly sketch out your ideas.
- Embroidery Magic:
- Simple Stitches: Even basic stitches like a running stitch, backstitch, or French knot can create stunning patterns. You can embroider flowers, geometric shapes, or even initials.
- Placement: Consider embroidering along seams, on the collar, cuffs, pockets, or creating a central motif on the back.
- Technique: Use an embroidery hoop for tautness if working on a larger area. Start and end your threads with small knots on the inside of the jacket.
- Patch It Up:
- Iron-On Patches: These are the easiest. Position the patch, cover with a thin cloth, and iron according to the patch’s instructions. For extra security, add a few stitches around the edges.
- Sew-On Patches: Use a needle and thread to hand-stitch around the perimeter of the patch. This offers a more secure and durable attachment.
- Placement Ideas: Patches look great on sleeves, the chest, or scattered across the back.
- Fabric Paint/Marker Accents:
- Testing: Always test your fabric paint or markers on an inconspicuous area first, or on a scrap piece of similar fabric.
- Application: Use a brush for paint or directly draw with markers. You can create abstract splatters, intricate patterns, or even write text. Place a piece of cardboard inside the jacket to prevent bleed-through.
- Drying & Setting: Follow the product instructions for drying time and heat-setting (usually by ironing the design once dry) to ensure durability.
- Optional Bling: If you want extra sparkle, sew on beads, sequins, or attach studs using a stud applicator. Be mindful not to overdo it; sometimes less is more.
- Final Touches: Once all embellishments are dry and secure, give your jacket a final inspection. Trim any loose threads. Your unique, refreshed denim jacket is now ready to wear!
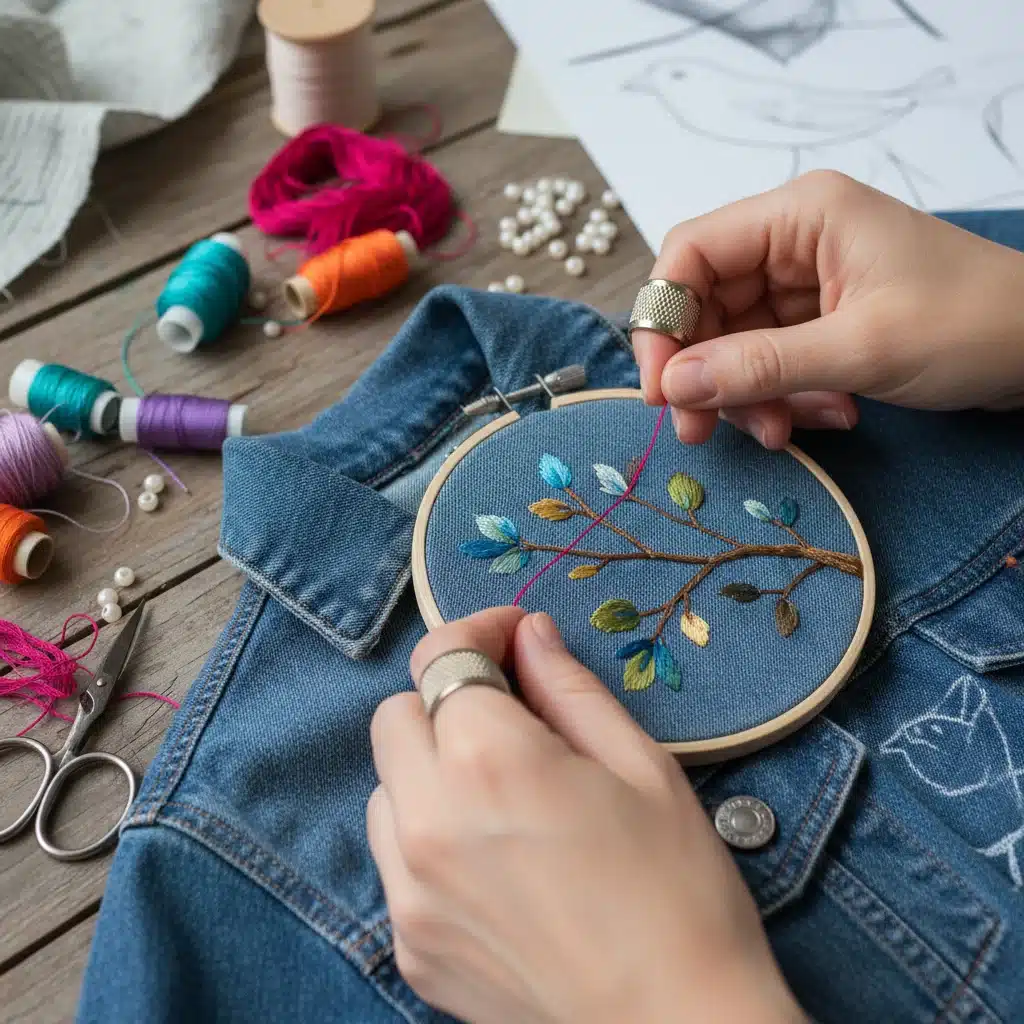
This project is fantastic because it allows for endless customization. You can go subtle with a few embroidered details or bold with an array of patches and painted designs. The key is to make it yours, reflecting your personal style. A DIY fashion refresh with a denim jacket is not just about updating a garment; it’s about creating a wearable piece of art.
Project 2: T-Shirt Transformation – Crop, Tie-Dye, and Reconstruct
T-shirts are perhaps the most common item in any wardrobe, and often the most underutilized. An old, ill-fitting, or plain t-shirt is a prime candidate for a dramatic DIY fashion refresh. This project will show you how to take a basic tee and turn it into something trendy and exciting, using techniques like cropping, tie-dyeing, and simple reconstruction.
Materials Needed (Under $15)
- An old t-shirt (any size, even oversized works well, free from your closet or thrifted for $1-$3)
- Fabric dye kit (tie-dye kit is ideal, $8-$12)
- Scissors
- Optional: Sewing machine or needle and thread, fabric chalk
Step-by-Step Guide:
- Wash and Prep Your T-Shirt: Ensure your t-shirt is clean. For tie-dye, it’s often recommended to start with a damp shirt, so you might want to pre-wash and leave it slightly wet.
- Choose Your Transformation: Decide if you want to crop it, tie-dye it, or both. You can also combine these with simple reconstruction.
- Cropping for a Modern Look:
- Try On: Put the t-shirt on and mark with chalk where you want the new hem to be. Consider a raw edge for a casual look or a hemmed edge for a cleaner finish.
- Cut: Lay the shirt flat and cut horizontally across the marked line. For a raw edge, simply cut. For a hemmed edge, add an extra inch for folding.
- Hem (Optional): If hemming, fold the raw edge up by half an inch, then another half an inch, and stitch in place using a sewing machine or by hand.
- Tie-Dyeing for Vibrant Style:
- Preparation: Follow the instructions on your tie-dye kit carefully. Most kits require you to mix dye powders with water. Protect your work surface and wear gloves.
- Folding/Tying Techniques:
- Spiral: Lay the damp shirt flat. Pinch the fabric in the center and twist it clockwise, creating a spiral. Secure with rubber bands.
- Crumple: Simply crumple the shirt into a ball and secure with rubber bands.
- Stripes: Fold the shirt accordion-style horizontally or vertically and secure with rubber bands.
- Apply Dye: Apply different colors of dye to various sections of the tied shirt. Be generous!
- Process: Place the dyed shirt in a plastic bag and let it sit for the recommended time (usually 6-24 hours) for the dye to set.
- Rinse and Wash: Rinse the shirt under cold water until the water runs clear. Remove rubber bands and wash the shirt separately in cold water with a small amount of detergent. Dry as usual.
- Simple Reconstruction (Optional):
- Cut-Out Shoulders: Cut small slits or shapes on the shoulders for a cold-shoulder effect.
- Fringe Hem: Cut vertical strips into the bottom hem to create a fringe.
- Lace Inserts: Cut out sections of the shirt (e.g., sleeves, back) and stitch in lace fabric for a delicate touch.
- Final Reveal: Once dry, your transformed t-shirt will be a testament to your creative DIY fashion refresh.
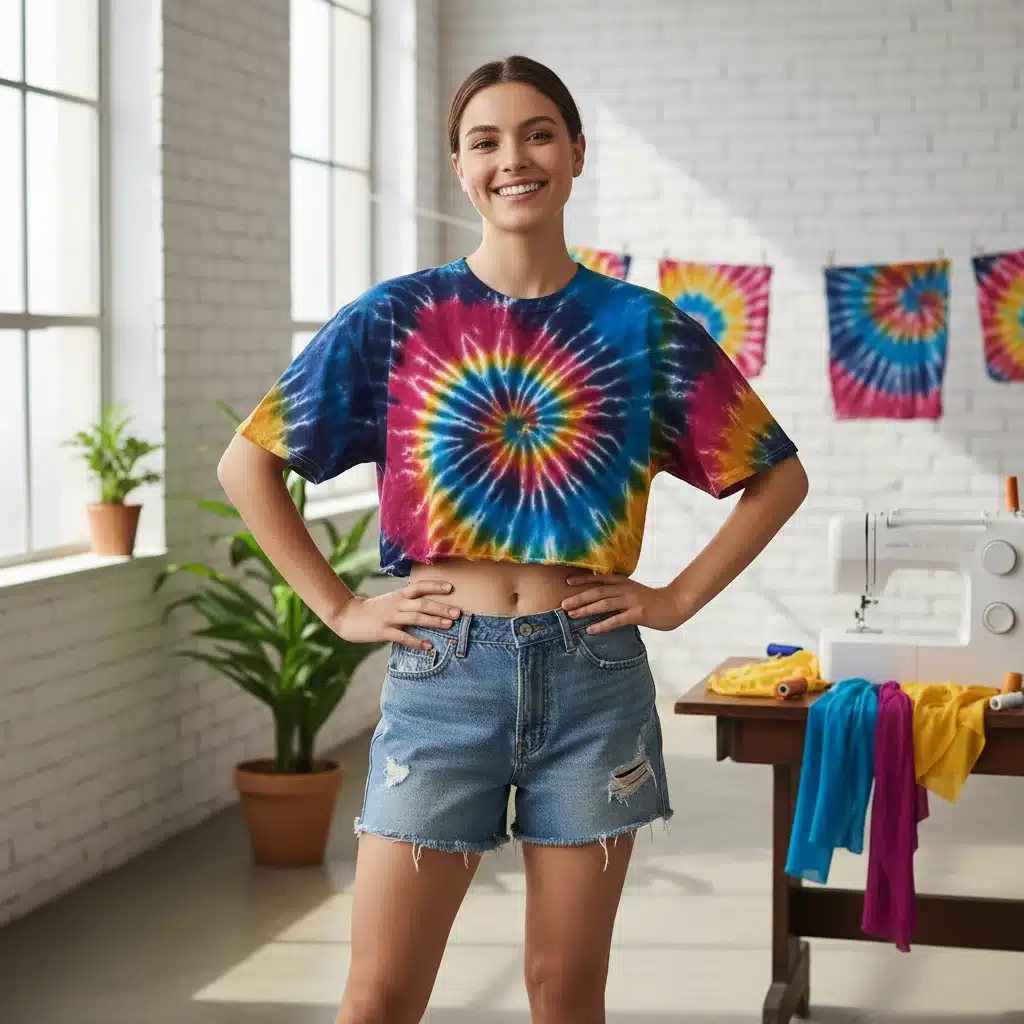
This project is perfect for beginners and yields incredibly satisfying results. With a little dye and some strategic cuts, you can turn a forgotten tee into a favorite piece, showcasing your commitment to a sustainable and stylish DIY fashion refresh.
Project 3: Jeans to Skirt/Shorts Conversion – Repurpose and Restyle
Old jeans are perhaps the most common item destined for the donation pile or landfill. However, with a simple cut and a few stitches, they can be given an incredible DIY fashion refresh, transforming them into stylish skirts or shorts. This project is a fantastic way to extend the life of your denim and create a completely new garment that fits your style.
Materials Needed (Under $10)
- An old pair of jeans (any size, free or thrifted for $3-$7)
- Fabric scissors
- Ruler or measuring tape
- Fabric chalk or pencil
- Sewing machine or needle and strong thread
- Optional: Lace trim, fabric scraps for patches, fabric glue
Step-by-Step Guide:
- Wash and Prep Your Jeans: Ensure your jeans are clean and dry.
- Decide on Length and Style: Try on your jeans and decide if you want to make shorts or a skirt. Mark the desired length with fabric chalk. Remember to add a few inches below your desired final length for hemming or creating a raw edge.
- For Shorts:
- Mark and Cut: Mark a line a few inches below where you want your shorts to end. Cut straight across both legs.
- Hemming (Optional): For a clean hem, fold the raw edge up by half an inch, then another half an inch, and stitch in place. You can also simply leave a raw edge and fray it slightly for a distressed look by pulling out a few horizontal threads.
- Distressing (Optional): Use sandpaper or a razor blade to create distressed areas on the thighs or pockets.
- For a Skirt (The More Involved DIY Fashion Refresh):
- Cut: Lay the jeans flat. Mark a line a few inches below where you want your skirt to end. Cut straight across both legs.
- Deconstruct the Crotch: Turn the jeans inside out. Carefully cut along the inner seam of the front and back crotch area, stopping just before the zipper (front) and where the two back seams meet (back). You’ll now have two separate leg pieces and a large gap in the crotch area.
- Create the Skirt Shape: Lay the jeans flat again. Overlap the front panels slightly, creating a new seam line that closes the gap. Pin it in place. Do the same for the back panels. This will give your skirt a more A-line or pencil shape, depending on how much you overlap.
- Stitch New Seams: Using a sewing machine (recommended for denim strength) or strong hand stitches, sew along your new front and back seam lines. Reinforce these seams with multiple passes.
- Trim Excess Fabric: Trim any excess fabric from the new seams, leaving a small seam allowance.
- Hem: Hem the bottom edge of your new skirt, or leave it raw and fray it for a casual look.
- Embellish (Optional): Add lace trim to the hem, sew on fabric patches, or use fabric paint for extra personalization.
- Final Check: Try on your newly transformed shorts or skirt. Make any minor adjustments.
This project might seem a bit more daunting than the others, especially the skirt conversion, but it’s incredibly rewarding. With a little patience, you’ll have a unique denim piece that nobody else owns. It’s a true testament to the power of a dedicated DIY fashion refresh.
Tips for a Successful DIY Fashion Refresh
Embarking on your upcycling journey is exciting, but a few key tips can make the process smoother and more enjoyable. These general guidelines apply to all your DIY fashion refresh projects and will help you achieve professional-looking results every time.
Start Simple and Build Confidence
Don’t try to tackle an intricate couture design on your first attempt. Begin with the easier projects, like the t-shirt cropping or simple denim jacket embellishments. As you gain confidence and skill, you can move on to more complex transformations. Remember, every master started as a beginner, and practice makes perfect in the world of a DIY fashion refresh.
Invest in Basic Tools
While we’re aiming for under $20 per project, a small initial investment in quality basic tools will pay dividends. A good pair of fabric scissors, a seam ripper, a sturdy sewing needle set, and fabric chalk are indispensable. These items are reusable and will serve you well across countless projects, making your DIY fashion refresh efforts much more efficient.
Measure Twice, Cut Once
This age-old adage is particularly true in upcycling. Once you cut fabric, there’s no going back. Always take your time to measure accurately, mark clearly with fabric chalk, and double-check before making any cuts, especially for projects like the jeans-to-skirt conversion. This meticulous approach ensures your DIY fashion refresh results in well-fitting and aesthetically pleasing garments.
Embrace Imperfection
Part of the charm of upcycled clothing is its unique, handcrafted quality. Don’t strive for factory-perfect finishes, especially when you’re just starting. Small imperfections can add character and tell a story. Embrace them as part of your creative journey and the personal touch of your DIY fashion refresh. The goal is to create something you love and are proud to wear, not to mimic mass production.
Get Inspired
Look for inspiration everywhere! Pinterest, Instagram, and fashion blogs are brimming with upcycling ideas. Follow other DIY fashion enthusiasts, observe how designers use different fabrics and embellishments, and let your imagination run wild. Don’t be afraid to combine elements from different inspirations to create something truly original for your DIY fashion refresh.
Care for Your Creations
Once you’ve invested time and effort into your upcycled pieces, make sure to care for them properly. Follow care instructions for any dyes or paints you’ve used. Hand-washing or gentle machine cycles can help preserve delicate embellishments. Proper care ensures your DIY fashion refresh creations last longer and continue to bring you joy.
Don’t Be Afraid to Experiment
The beauty of a DIY fashion refresh is the freedom to experiment. If a project doesn’t turn out exactly as planned, consider it a learning experience. Sometimes, “mistakes” lead to even more creative and unique designs. Try different color combinations, stitch patterns, or fabric pairings. Push your boundaries and discover what you’re truly capable of.
Beyond the Projects: Expanding Your DIY Fashion Refresh Horizon
These three projects are just the beginning of your DIY fashion refresh journey. Once you’ve mastered them, a whole world of upcycling possibilities opens up. Consider these ideas to continue expanding your creative wardrobe:
- Patchwork & Appliqué: Use fabric scraps to create intricate patchwork designs on jackets, jeans, or bags. Appliqué involves sewing a piece of fabric onto another larger piece to form pictures or patterns.
- Natural Dyeing: Experiment with natural dyes made from fruits, vegetables, and plants (e.g., avocado pits for pink, onion skins for orange, turmeric for yellow). This is an eco-friendly way to achieve unique colors.
- Deconstruction & Reconstruction: Take apart multiple garments and combine their best elements to create a completely new piece. For example, combine the top of a dress with the bottom of a skirt.
- Embellishing Accessories: Don’t limit yourself to clothing! Upcycle old handbags, shoes, or hats with paint, embroidery, or fabric scraps.
- Mending as Design: Instead of simply hiding a tear or stain, turn it into a design feature. Visible mending, like Sashiko stitching, can add character and beauty to a garment.
- Transforming Shirts into Dresses: An oversized men’s shirt can be transformed into a stylish tunic or simple dress with a few cuts and cinching at the waist.
Each of these ideas further contributes to a sustainable lifestyle and allows for endless creativity. The more you explore, the more you’ll realize that your wardrobe is a treasure trove of potential, waiting for your personal touch. A consistent DIY fashion refresh approach can lead to a closet full of unique, meaningful, and environmentally responsible garments.
Conclusion: Your Stylish, Sustainable, and Budget-Friendly Wardrobe Awaits!
Congratulations! You’ve now got the knowledge and inspiration to embark on your very own DIY fashion refresh. We’ve explored three simple yet impactful projects – transforming a denim jacket, revamping a t-shirt, and converting old jeans – all achievable for less than $20 each. These practical solutions not only save you money but also empower you to express your individuality and contribute to a more sustainable fashion future.
Remember, the journey of upcycling is as much about creativity and personal expression as it is about environmental responsibility. Every stitch, every brushstroke, and every thoughtful cut adds character and a unique story to your garments. You’re not just making clothes; you’re making a statement about who you are and what you value.
So, clear out that “donate” pile, raid your closet for forgotten gems, or take a trip to your local thrift store. Gather your basic tools, unleash your imagination, and get ready to transform your wardrobe into a collection of one-of-a-kind pieces. Your stylish, sustainable, and budget-friendly DIY fashion refresh is just a few projects away. Happy upcycling!